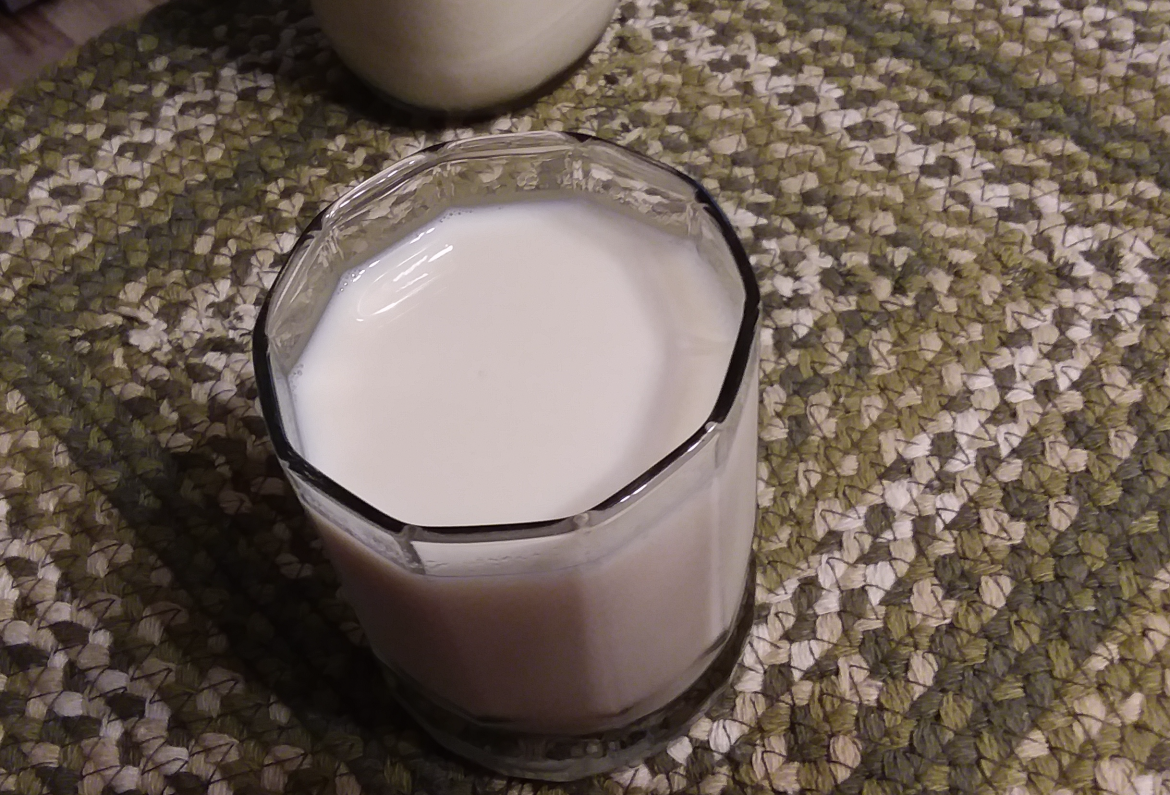
Asian-style Soymilk
Soymilk is one of the healthiest milks you can drink. It has nine of the essential amino acids that the human body needs. It is also a complete protein. Though it was not my favorite plant-based milk to drink in the past, I grew up on it since childhood. My recent discovery of SDA-style soymilk has changed my dislike of drinking it, offering a more neutral taste than this Asian version. I do still make this version, but more so to make tofu, some plant-based cheeses, and yuba skins. Now, I almost exclusively make the SDA-style soymilk unless I am making these.
With that said, there are a number of myths that have been circulating concerning soy and none of them hold any foundation, at least none when using organic soybeans, free from chemicals and pesticides. The article, “The Truth about Soy – Busting the Myths,” linked here explains these myths and gives you the researched studies at the end of the article regarding the truth. There is no need to doubt. Remember that every time you look at articles, even research, pay attention to the funders. Research generally requires funding. Consequently, it may behoove us all to look at the funders, which sometimes may be hidden from plain view under subsidiaries, to see if there may be any agendas or simply examine their core values. Not all research is ethical. When examining information, remember also that Google isn’t a place where you’ll find all the truth upon a subject. You may have to use the physical “archaic” library again as many things concerning the truth is being removed from the World Wide Web. I pray you will have a heart intent upon the truth and search for it as for hidden treasure!
Now, there’s more than one way to make soymilk, but this is my main way. This is known as the Asian way to make soymilk, which is preferred when making other foods from soy. You will still have a “bean-y” flavor in this version. I will record another video on another way to make soymilk preferred for drinking. Coming soon!
Now, I remove the skins, but you may blend the skins too. I prefer the taste and creamy texture without the skins. I find the skins to make the milk bitter, but this may not be your experience. Some people mix other nuts, seeds, or grains with this. At times, depending upon what I am making, I do this too; so, experiment yourself.
Now, you may use soymilk, even the SDA version, in just about everything you make with animal milk. I do plan on sharing more recipes on here as I can. So stay tuned! ….
Now, without further ado, here’s the recipe.
Samara’s Soymilk
Ingredients:
- 1 cup organic soybeans (+ water for soaking overnight)
- 9 cups pure water (divided, 5 cups for blender, then 3 cups with foam, then 1 cup in pot)
Instructions:
- The night before, soak 1 cup of soy beans in at least 3-4 cups of water
- Preheat oven to its warmest setting to sterilize jars for milk … and lids.
- In a medium bowl, crunch hydrated beans between fingers to remove skins. Process takes 5-10 minutes.
- Remove skins from bowl by running water in bowl and draining through a sieve, allowing the skins to run off. Repeat a number of times until the skins are mostly gone. I usually end up with about 1 cup of skins.
- Have a heavy bottom pan on the stove eye with a milk bag to strain the milk.
- Add 5 cups of water to blender and add all of the de-skinned soybeans and blend on high for 2 minutes.
- Pour a bit more than half of the milk through the milk bag in the heavy bottom pot. A bit of milk and foam should be in the blender.
- Add 3 cups of water to the blender and blend on high again for about 30 seconds.
- Pour the entirety of the blender contents into the milk bag on the stove.
- Milk or remove the liquid from the milk bag into the pot. Lots of foam will form on top of the milk in the pot during this process.
- With a smaller sieve that fits in the pot, remove as much foam from the top of the milk. Then using a spoon, scoop out the remainder of the foam into the designated foam holder (I rinse and use my blender for this purpose. Also don’t forget to rinse the milk bag — holding out the dried pulp for later use in another recipe– because if you do not rinse it at this stage, in 20 minutes it will be harder to clean).
- Once foam is off of the milk, pour the last cup of water into the pot.
- Turn the stove dial almost on high and set the timer for 20 minutes. Let the milk heat up until milk comes to a boil, then turn it down to medium. Please pay attention to how fast the milk is heating up, you never want it to come to a raging boil, but a simmering boil until the end of the process.
- Remember to stir the entire time. Throughout the 20 minutes, constantly stir up and down and side to side, scraping the bottom of the pot to make sure no milk burns at the bottom of the pot. Continue to remove the milk bubbles as they form (I read these are gas forming). You may wait until near the end of the process to discard the foam as it will cook and stick together (not shown in the video, I learned this later). Discard the foam and immediately rinse/wash the container you were storing your foam. It will be harder to clean later, believe that!
- Once the 20 minutes expire, turn off the heat and remove the pot from the heat. You will know that your soybean milk is a success when a skin forms on top (this may happen before 20 minutes, but I always wait for 20 minutes). I remove this skin and set it aside (It is quite tasty with some black salt (kala namak) –reminiscent of an egg.
- Remove jars and lids from the oven and pour milk into them. Refrigerate for 3-5 days.